and welcome to the second Infinity related review+.
First of all... review+? What's that plus for? Well... I thought I should share my experiences with this product and give you a hand if you assamble that.
So, first of, what on the menu?
Today we have

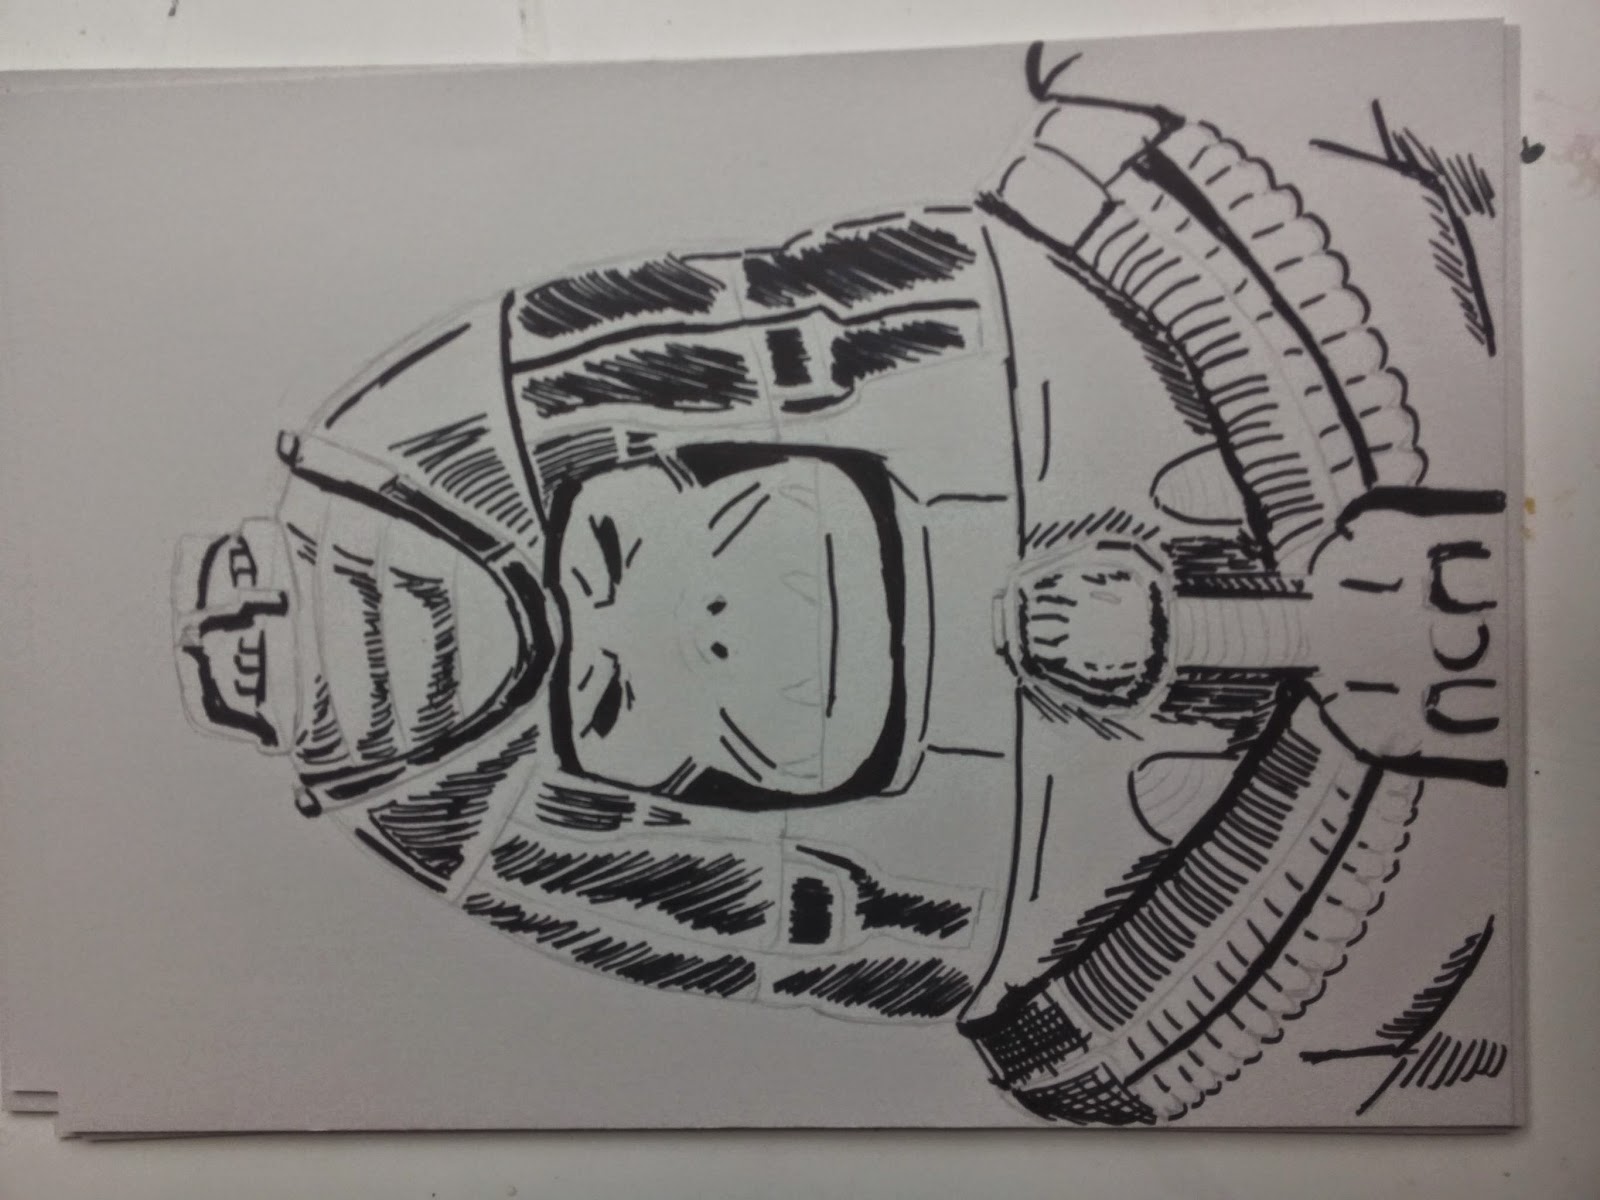
The Product: The MagLev Train Mk II

...as presented on their webpage.
Let the review beginn!
PRICE:
Well... ask yourself, what would you pay for a train? Or a center piece of terrain on your board? I am more of a cheapo. I like doing stuff myself and if a few details and tweeks on a toy train would do the trick, I would be on that, rather than buying anything. But the paper-template-print-out from the Paradiso Book was out of question.
When I stumbled over the trains from Terrakami on the tournament, I recently wrote about, I just had to check them out online.

So, when you compare the prices, also with other manufacturers, you have to admit that 50€ for the MagLev Mk II Train, don't sound so bad. If it is worth it, we will see later, but from here, for the price:

PRODUCT:
So, what do you get for you money. Terrakami says:
"This model contains 2 locomotive units and 4 cargo wagons. Removable
roofs and openable door for full playable interiors. Each locomotive
includes a console objective marker. (Containers not included in the
pack).
Locomotive measures: 110mm (W) x 200mm (L, at the base).
Wagon measures: 110mm (W) x 200mm (L).
20 rounds magnets (4x2mm) included."
Locomotive measures: 110mm (W) x 200mm (L, at the base).
Wagon measures: 110mm (W) x 200mm (L).
20 rounds magnets (4x2mm) included."
I know, I should read stuff before I buy them, but I was a little astonished, when I unpacked everything, that there are no containers. It clearly, says it does NOT CONTAIN containers, but they where on the picture...
ah, well...
Your 2,5 mm thick MDF plates come neatly wrapped up in shrinkfoil. Nothing fancy. But no need for that. Would just rise the price tag.
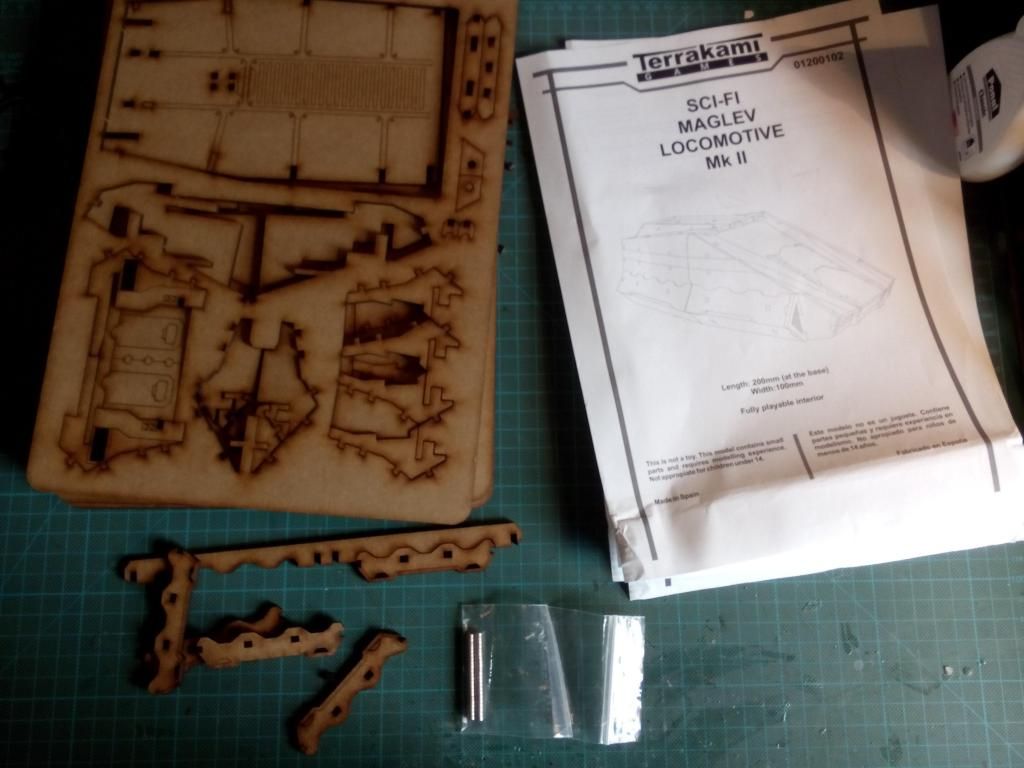 |
| Content: MDF Sheets, Construction-Aid, Magnets... and loots of loose pieces. |
When you un-pack your train, make sure you have a box at hand... because a lot of the parts are so loose on their frame, they will fall out.
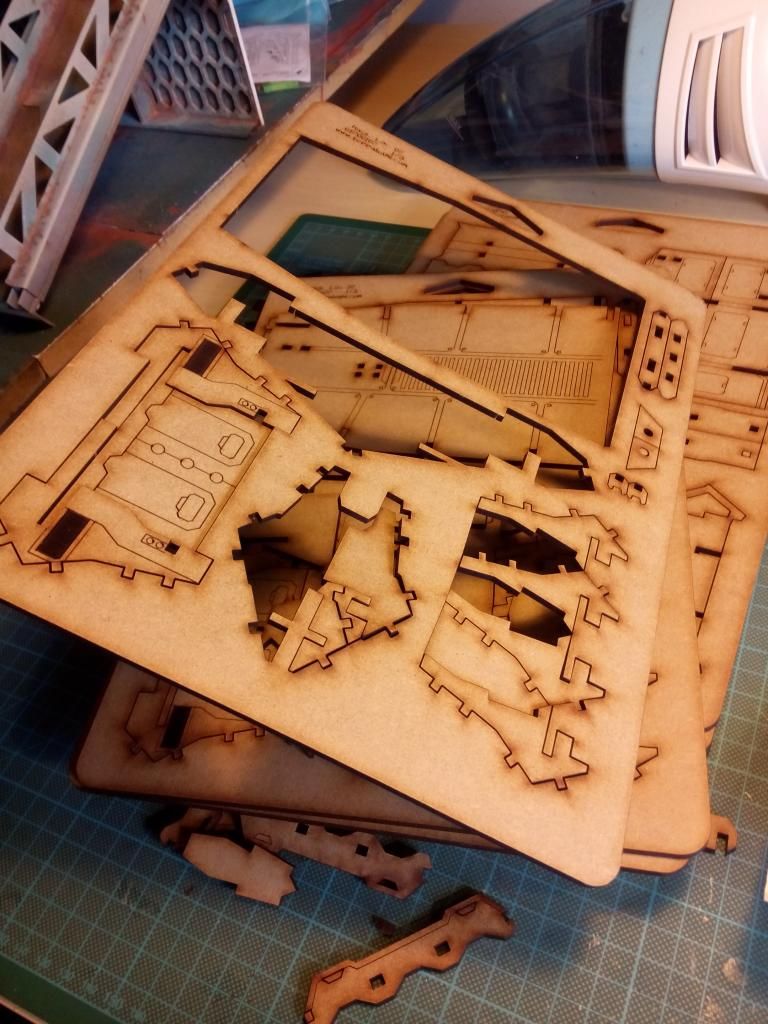 |
| A slight lift and off they go... |
It seems, that Terrakami knows about this. Which results in an interesting packing-tech.
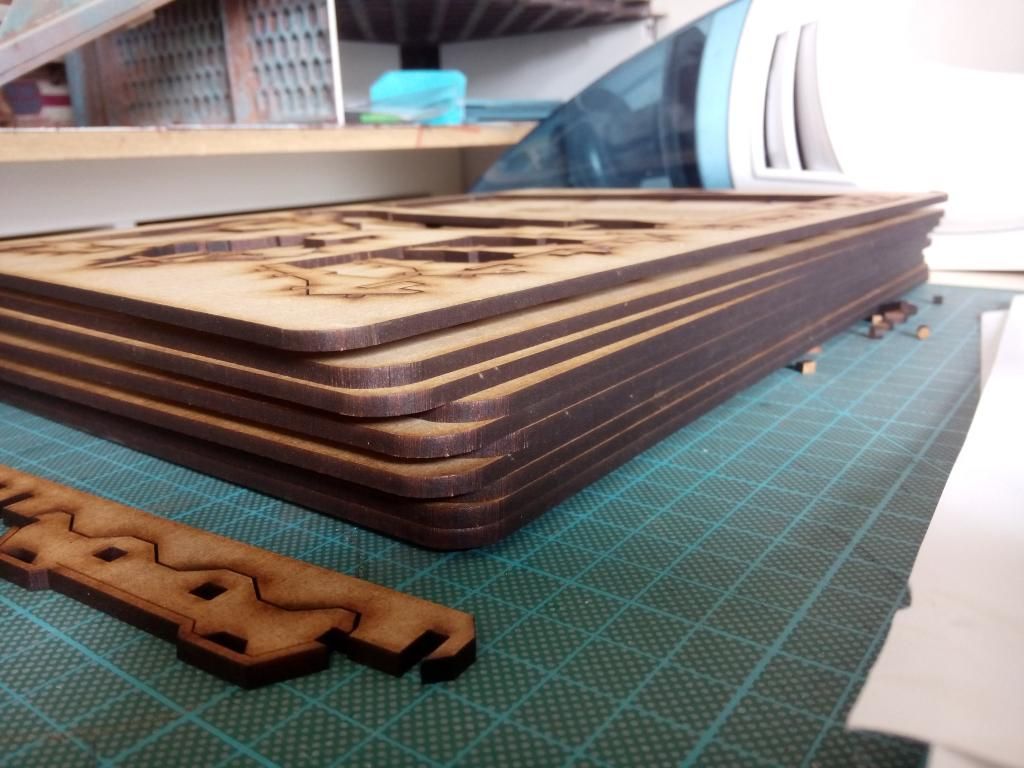 |
| The Zig-Zag packing of the sheets prevents at least a little the pieces from falling out straight away. |
No.
If you have assembled a MicroArtStudio Kit or a piece from Spartan Games, you know how stuck MDF-Pieces can get in their frames and sometimes to much pressure results in broken pieces.
With the Terrakami kit, you just have to breathe lightly onto the frames and everything will come out nicely, without a need to clean up anything. This saves lots of time during assembly.
Lets take a look at the MDF Sheets...
 |
| This is a complete sheet :D |
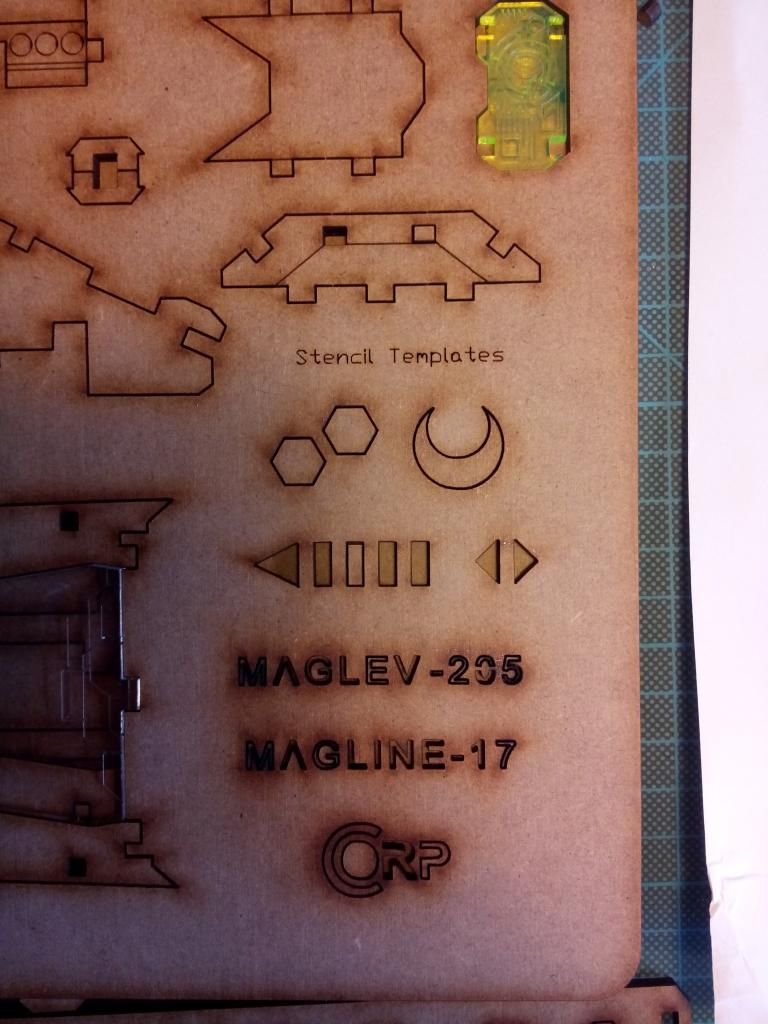 |
| Stencil Template |
Finally... an construction-aid.
 |
| Especially the first sheet is important. |
Conclusion:
The MDF with its close to 3mm thickness makes a solid apperance. The loose parts are no big deal to me (I actually see an advantage there) , the stencil templates are a fantastic bonus as are the acrylic parts and the magnets (!!! MAGNETS!!!). The only (little) downer is, that there was no construction-aid for the wagons.
So, well deserved,

DESIGN:
I am no train man. I know there are people keen on trains and their designs and I am well aware of my uneducated position, so please take the following with a pinche of salt.When you compare the MagLev Train Mk II with other available trains, you will surely see the ammount of grey matter that has been put into this kit. Since we want to focus here on Terrakami, we can compare the Mk I with the Mk II...
 |
| Rhino on rails... the MkI |
 |
| Mk II: Angled and thicker walls |
 |
| Mk I: Thin walls |
When you assemble the train and you have put other kits togther already, pay attention to the clever use of the angled pieces. So far, I haven't seen the like.
Conclusion:
The design-evolution from Mk I to Mk II is easy to see and a huge step forward. If there would be a Mk III I would hope for a little more details on the wagons. I guess there should still be some space in the MDF-Sheets for some braces as in the Mk I wagon.
But all in all, the prettiest train set in MDF there is right now (aside from the Mk II Passenger Wagon... man... that is awesome aswell :P)
ASSEMBLY:
Step one: Make sure you have enough room and all the pieces that have fall out by no.
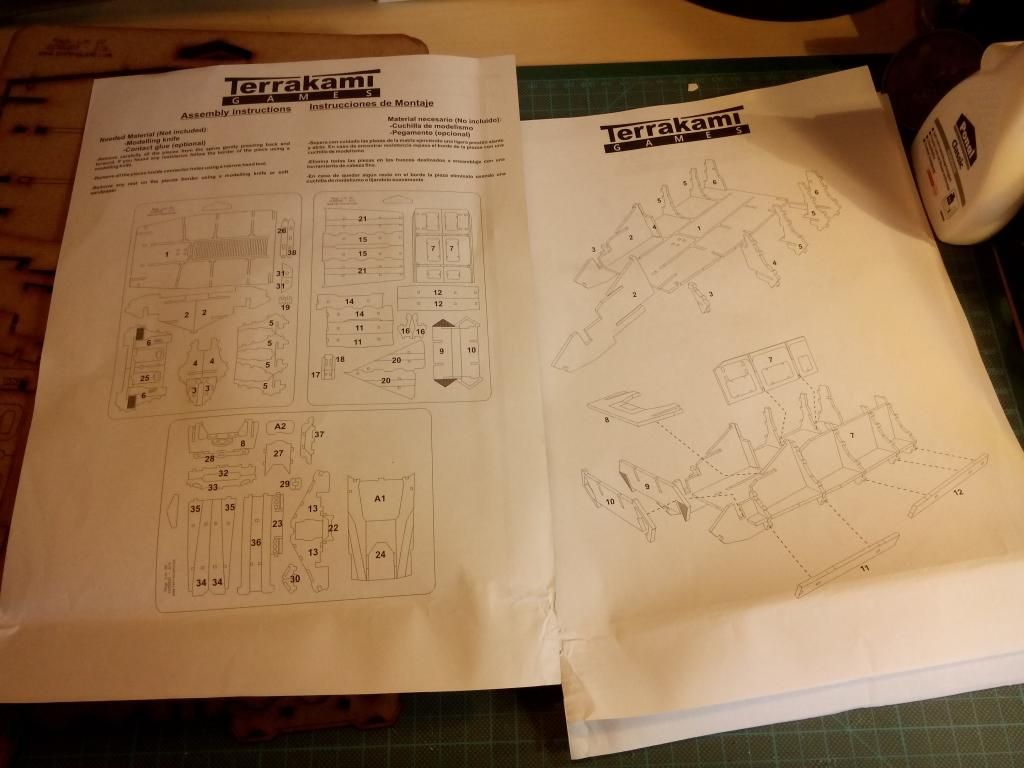
Step two: Make sure you have the construction-aid page with the nummerical description of the different pieces at hand.
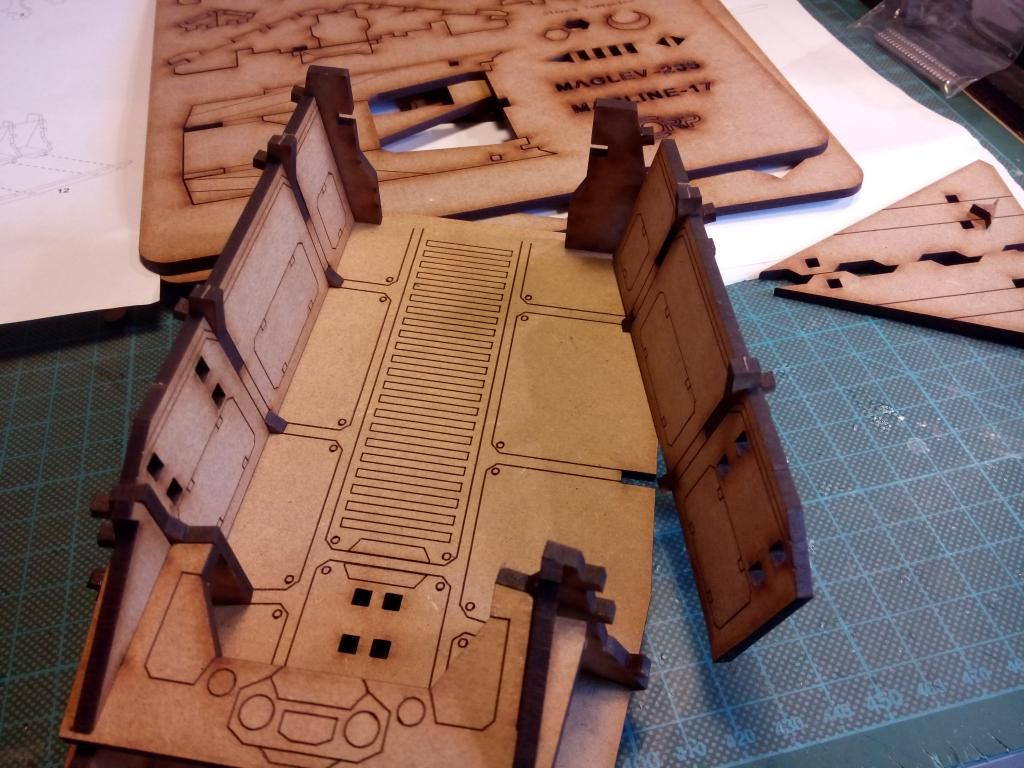
Step three: Assemble. Due to the good work the laser did, I had to cleaning of the pieces, nor any problem with fitting them into place. Astonishingly I didn't need any brute force to put the pieces together (as you need with your MAS), but they stuck and kept their place without any glue. Just to be save, I aplied some wood glue here and there, but more of a habit than a necessity.
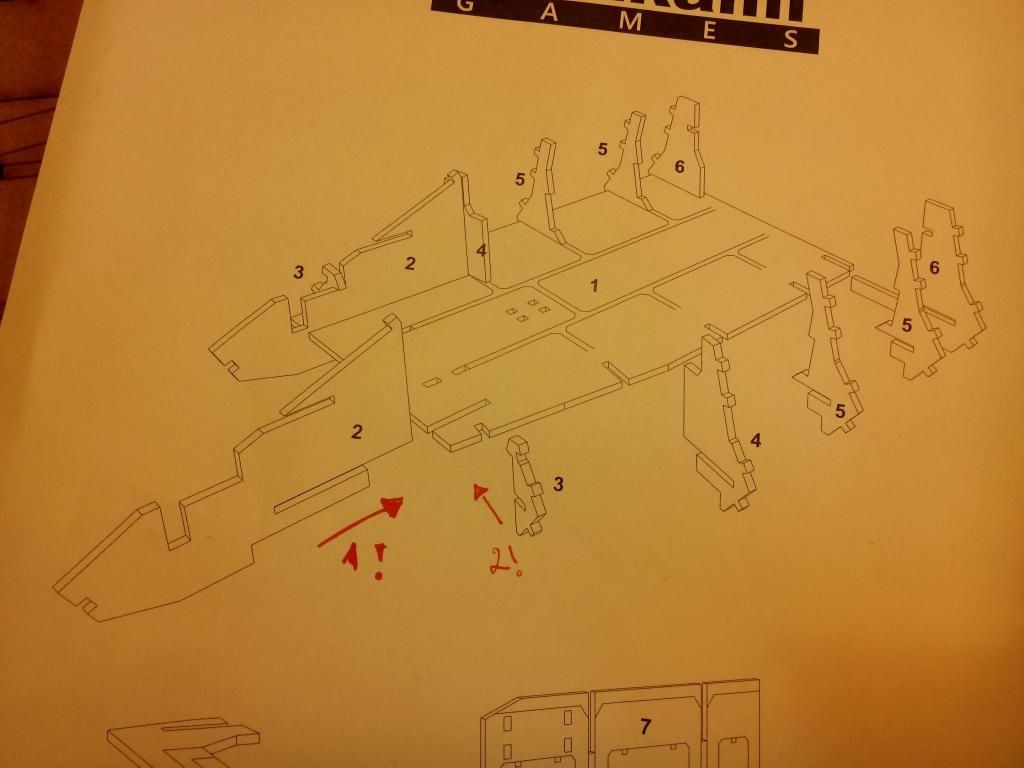 |
| If you put piece 3 into place first, piece 2 won't fit anymore. |
 |
| Assemble piece 7 with the two piece 5s first... |
 |
| ... before puttung them into place. If you stick to the plan here, you might experience some troubles. |
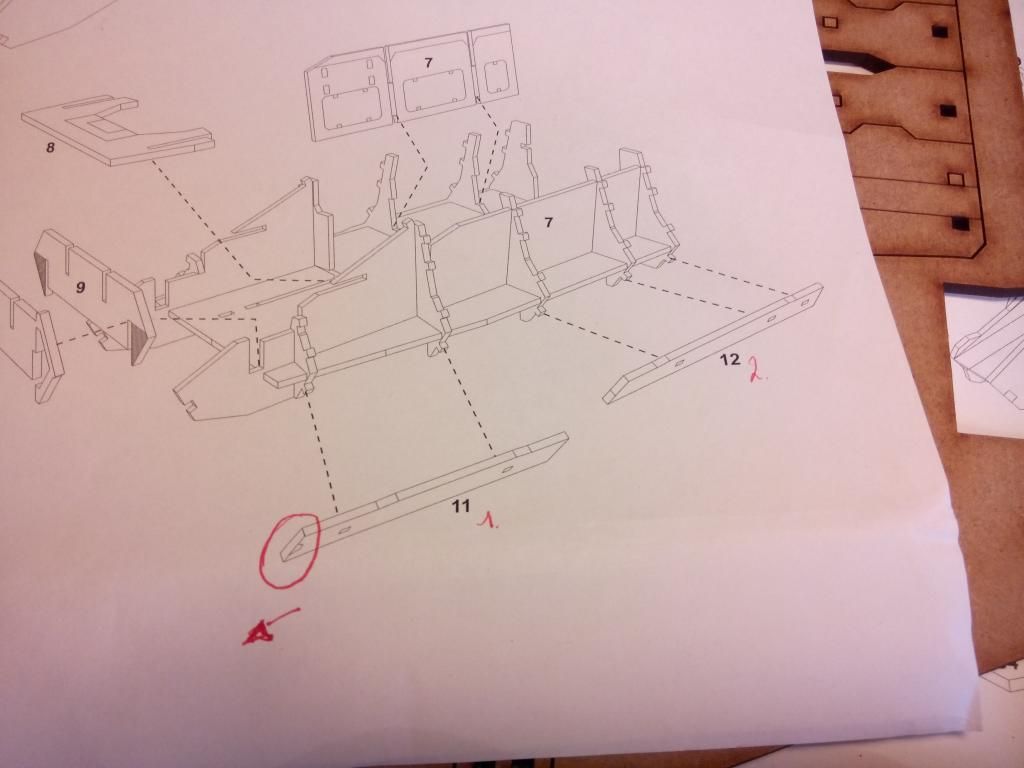 |
| Because piece 11 and 12 look pretty much alike, pay attention to little marking on the 11 and that it is pointing forward. Also put 11 first into place. The connection between 11 and 12 look smoother this way. |
 |
| Roof Assembly: First put 34 into place, then 35. I found it handy to glue 34 first. |
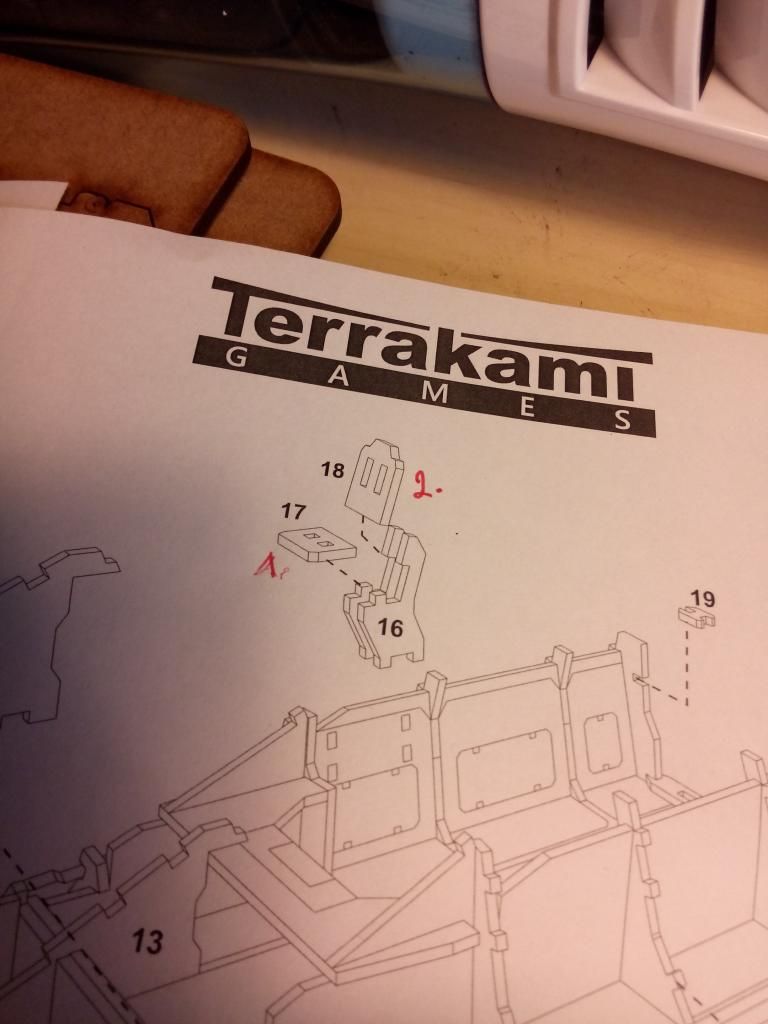 | |
| Chair Assembly: Put the 17 first on both 16s. The add the 18. Other way around will get impossible to work :) |
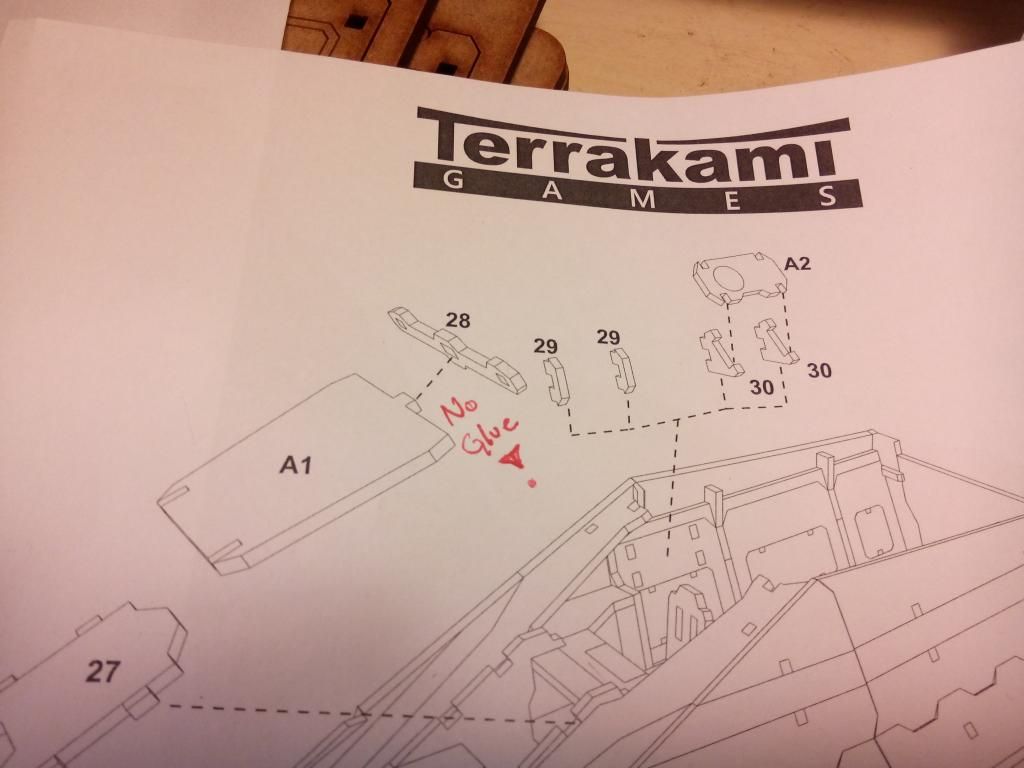 |
| Don't use glue for the connetion of A1 and 28. It fits and holds without it and makes it easier to remove the glass for painting. Same goes for the green acrylic part. |


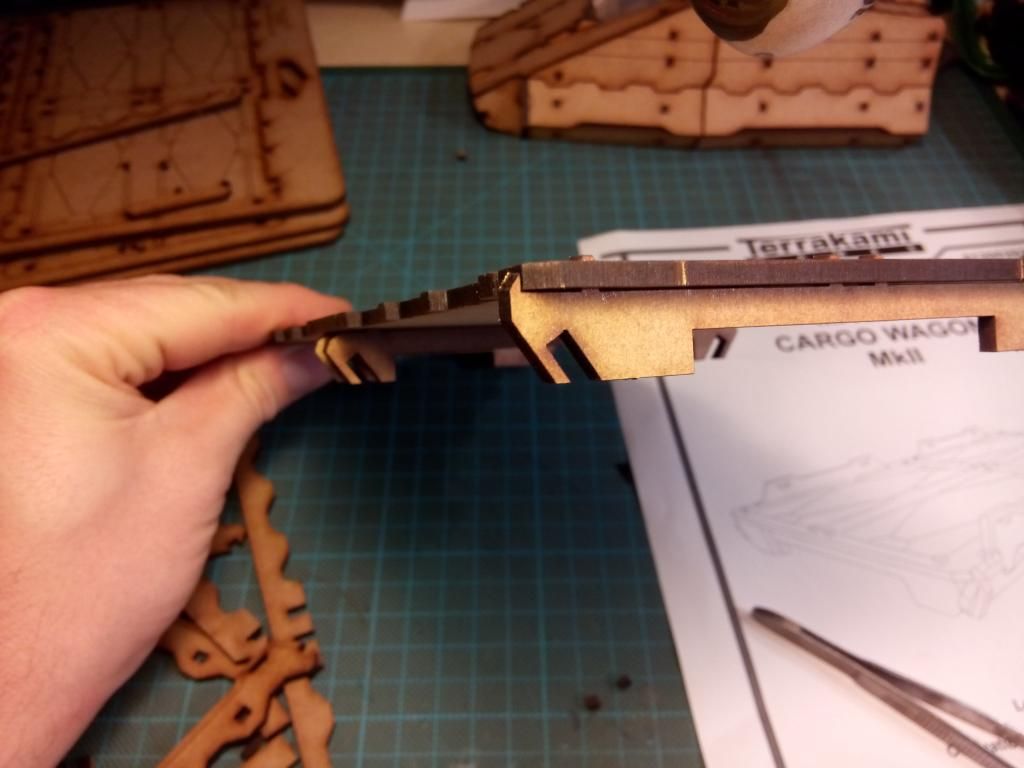
ASSEMBLY of the Cargo Wagon:
If you have put the Locomotive together first, you will probably find it easy to fiddle the wagon together. If you want to skip the try and error, here is how you do it: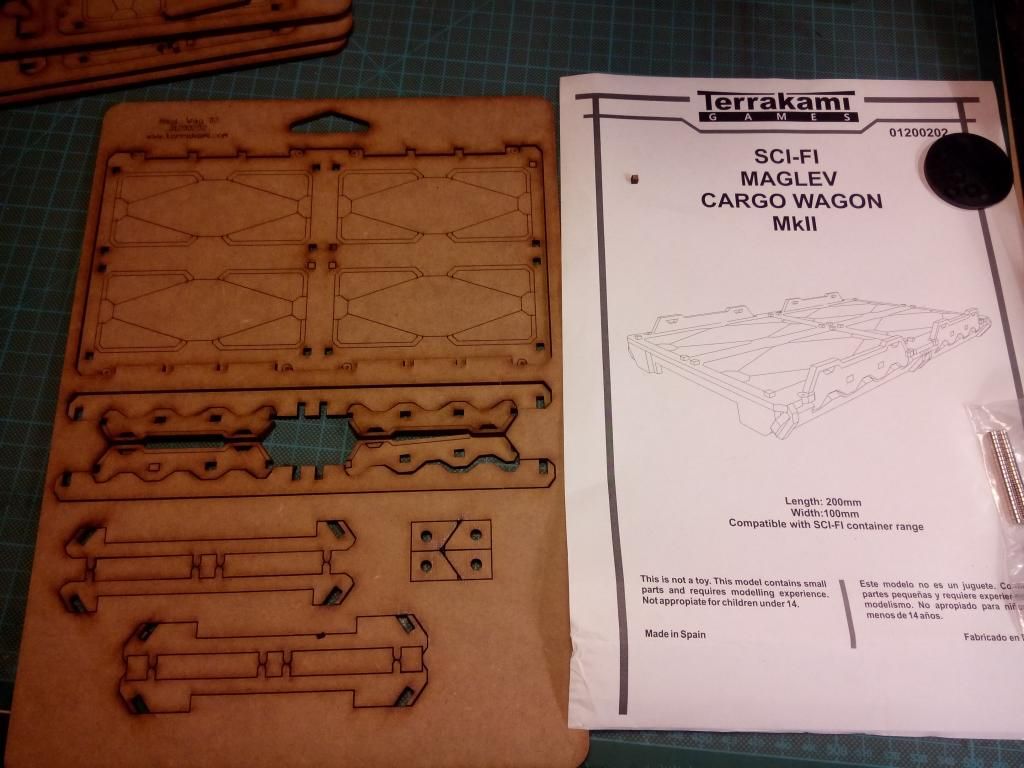 | |
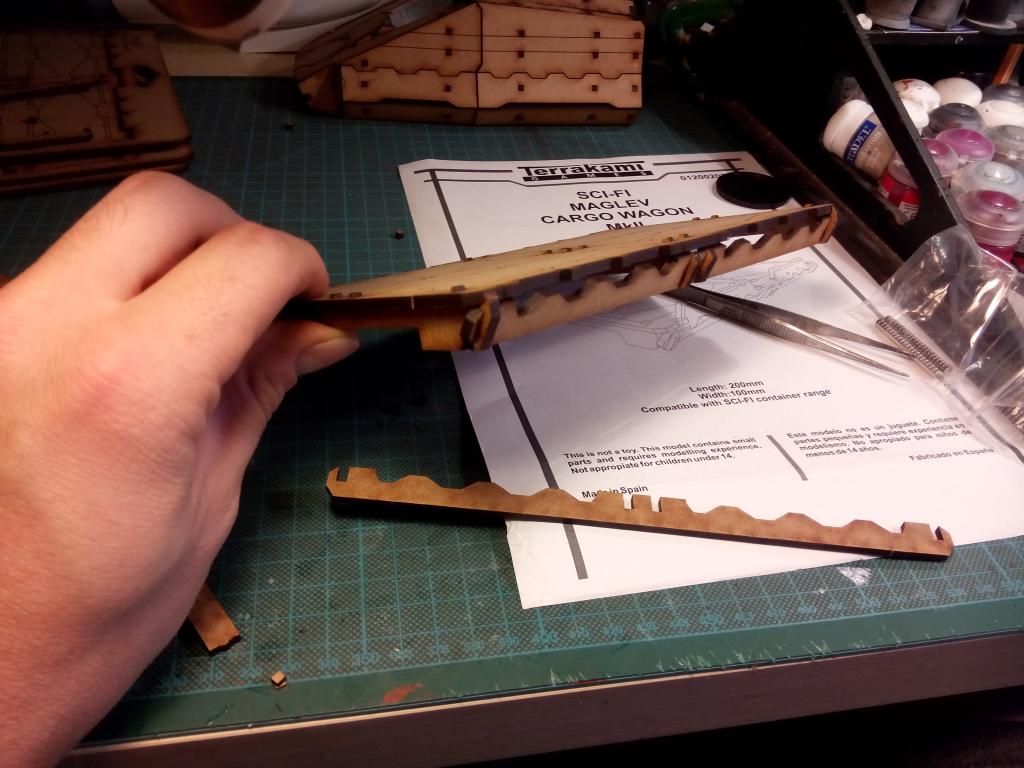
| To bad the construction-aid is just this picture ;) The lower bars are the ones to go on the edges of the wagons... |
 |
| ... since the have little nooks the reach over the corner. |
 |
| Pretty selfexplaining where these long bars go... |
Because we have one finaly step to master: THE MAGNETS!
I made the mistake and simply glued the magnets into place. The resulted in them dissapperaing in their sokets never to be seen again. Ofcause, if they are so deep in there, they won't work their magnet magic.
So I have come up with a little trick, with close to no extra work:

If you cut them carefully in half, you have perfec spacers to give the magnets in their sokets the right hight.
For that, glue the sokets onto the wagons (I recommend wood glue) and then put the halfed left-over-cylinders into the holes.


Pay ATTENTION to the north and south of the magnets!!!
In doubt dubble check if the magnets face in the right direction to actually work!
Conclusion:
I had about 2h of fun with this set. Most of the time was eaten up by the first locomotive every step being a care approach, since I didn't want to mess it up. The second Locomotive was done in mere minutes, since I knew where everything went. Same was with the wagons. Once the assembly was understood, the rest was done quite fast.
The tricky part was with the magnets... but hey. Magnets are awesome and add that "uuuhhh" and "aaaahh" to an already quite awesome model.
On the other hand, it says it is not a toy... an atleast a little challenge should lay in every model, don't you think?
Final Conclusion:

Do you want a fun and challenging center piece of terrain that can be subject of almost countless missions for your scifi-skirmish of choice? Do you want to pay as much as a Landraider (he still costs 50, right?) for that?
Do you want to play that ultra cineastic mission from Campaign: Paradiso on something else than print-out-train-markers?
Then this train is for you.

Would I buy it again? Yes.
Would I recommend it to my friends and fellow nerds? Yes
Away with all the little minor improvement ideas... the MagLev Train Mk II with Cargo Wagons get well deserved: